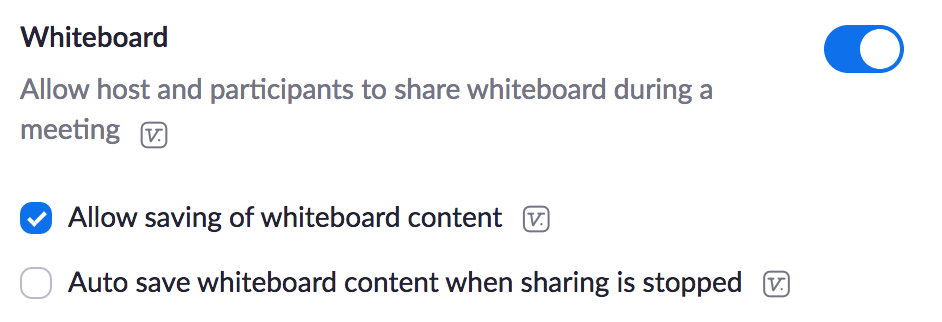
Setting up Whiteboard:
- Enable Whiteboard in the Settings — and decide if you want to be able to save it or not:
- Enabling Annotations (directly above Whiteboard in the Settings) will allow students to annotate the Whiteboard collaboratively.

Opening Whiteboard during a meeting:
- Click on Share Screen to open the Share Screen window.
- Click on the Whiteboard option.
- Three items will be visible on the screen:
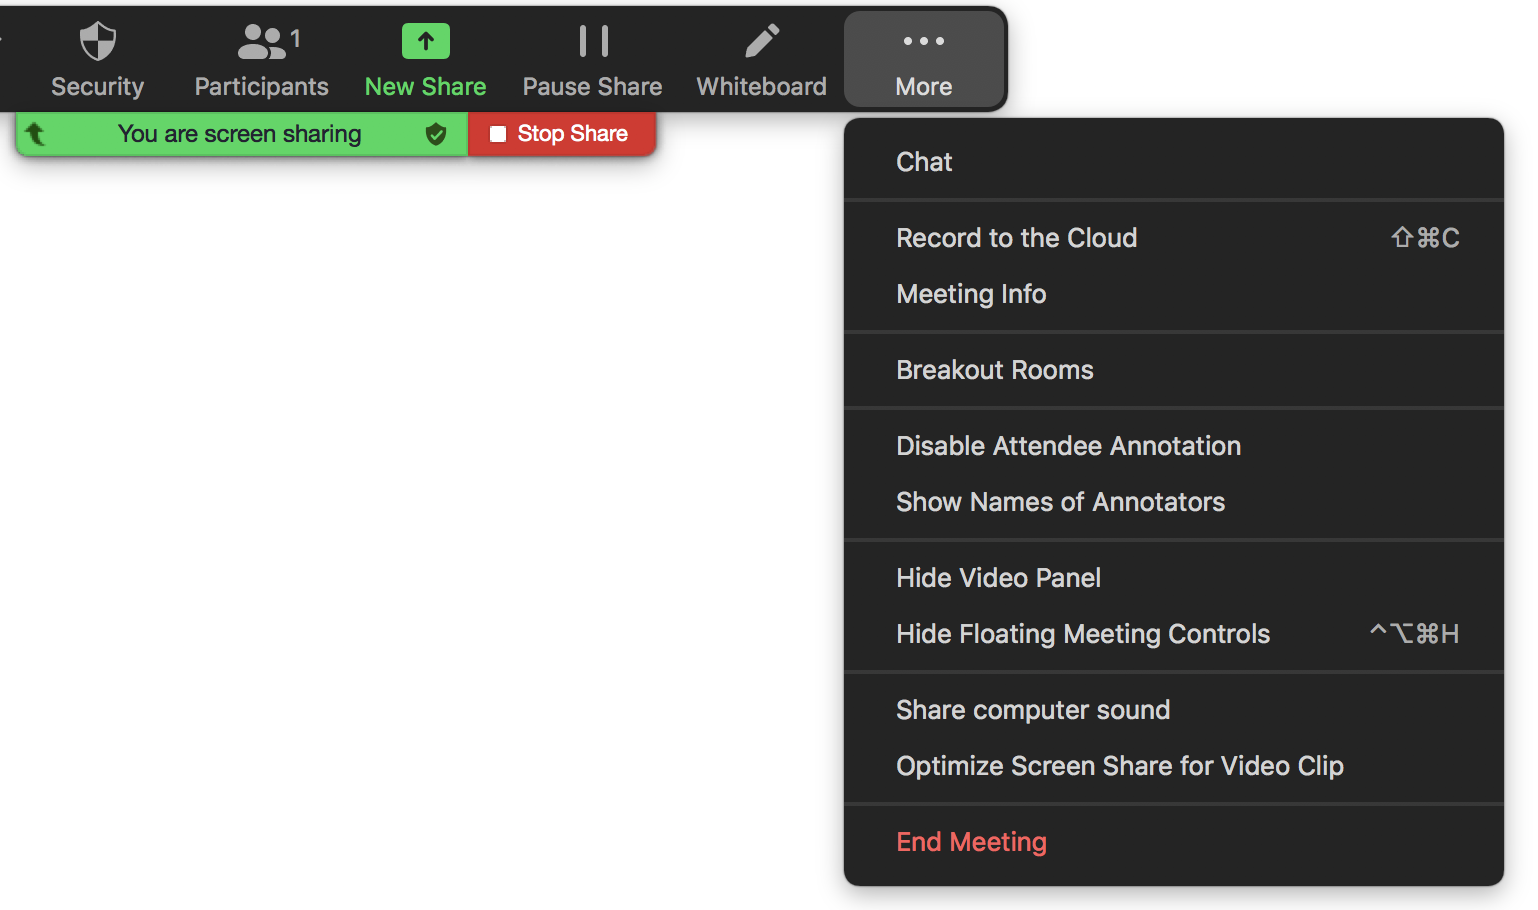
the Share Screen control bar:

the Whiteboard control bar:

and a blank white field.
For typing or drawing on the field:
- Click on T/Text, then click anywhere on the field and begin typing (words for pronunciation / examples of grammar rules / etc.); fonts and colors can be adjusted using the drop-down menu in Format.
- Click on Draw, choose a tool, and use it to draw on the field.
- The Stamp features allows you to choose various symbols (an arrow; X; a heart; etc.) which you can place anywhere on the screen by clicking.
- Spotlight creates a nimbus of color around your cursor to make it more visible as you move it around the field to highlight what you’ve typed or drawn.
- There are two ways to hide the Whiteboard control bar: Click on the Whiteboard icon on the Share Screen control bar; or click on the red-and-white X on the Whiteboard control bar.
- You can erase what’s on the field selectively with the Erase tool; or you can click on Clear and choose Clear All Drawings to erase everything.
Annotations:
If the instructor has enabled Annotations for participants in the Settings, everyone in the meeting will be able to draw or write on the Whiteboard simultaneously, and everyone else will be able to see their contributions. A few things to keep in mind regarding this feature:
- In order to annotate, students may need to click on the three dots at the right-hand end of the control bar, open the drop-down menu, and click on Annotate.
- They can add their own annotations, text and drawings to whatever is already there.
- They can erase whatever they’ve written or drawn — but not anything written or drawn by the instructor.
- The instructor (as the host) can create a new Whiteboard page and toggle from page to page, using the controls in the bottom right-hand corner of the page.
Participant annotation can be disabled by clicking on the three dots on the right-hand side of the Share Screen control bar, which shows a drop-down menu that includes “Disable Attendee Annotation”:

Notice from this menu that you can also display the names of participants who have added an annotation — which may encourage participants to think carefully about what they add to the board.
While Whiteboard annotation has many uses, Fang Yan (CHI) suggests that it is more convenient to use the “annotation pen” found in the PowerPoint software than this “annotation” function on Zoom, since the “annotation pen” works on each page instead of the whole screen.
Detailed instructions for using Whiteboard annotations and for controlling how students use this function: [4:30]
